


Greetings Creative People,
As per usual, I did not take photos of me cutting the pattern pieces out for this project. This red fleece slouchy style bag is one of my patterns from my Pattern Sew Through Challenge II mentioned in this post here.
Here is a photo of the pattern and the material after I interfaced the material according to the patterns instructions. I used red fleece material that I purchased from Tuesday Morning and the red paisley material was purchased from Walmart some time ago. The Simplicity Pattern 4117 was purchased during one of my pattern hauls when JoAnn's had a sale on Simplicity patterns.

I chose to make view E and took a closer picture so you can see it better.

After I inserted interfacing, stitched the darts, and sewed the front and back pieces together and pressed it, it was time to insert the lining.


After constructing the lining the same way I did for the bag, it was time to work on the straps of the bag. Again, no progress pictures of that, I am so sorry, but following is a photo of the completed bag straps before and after attaching the straps to the bag.


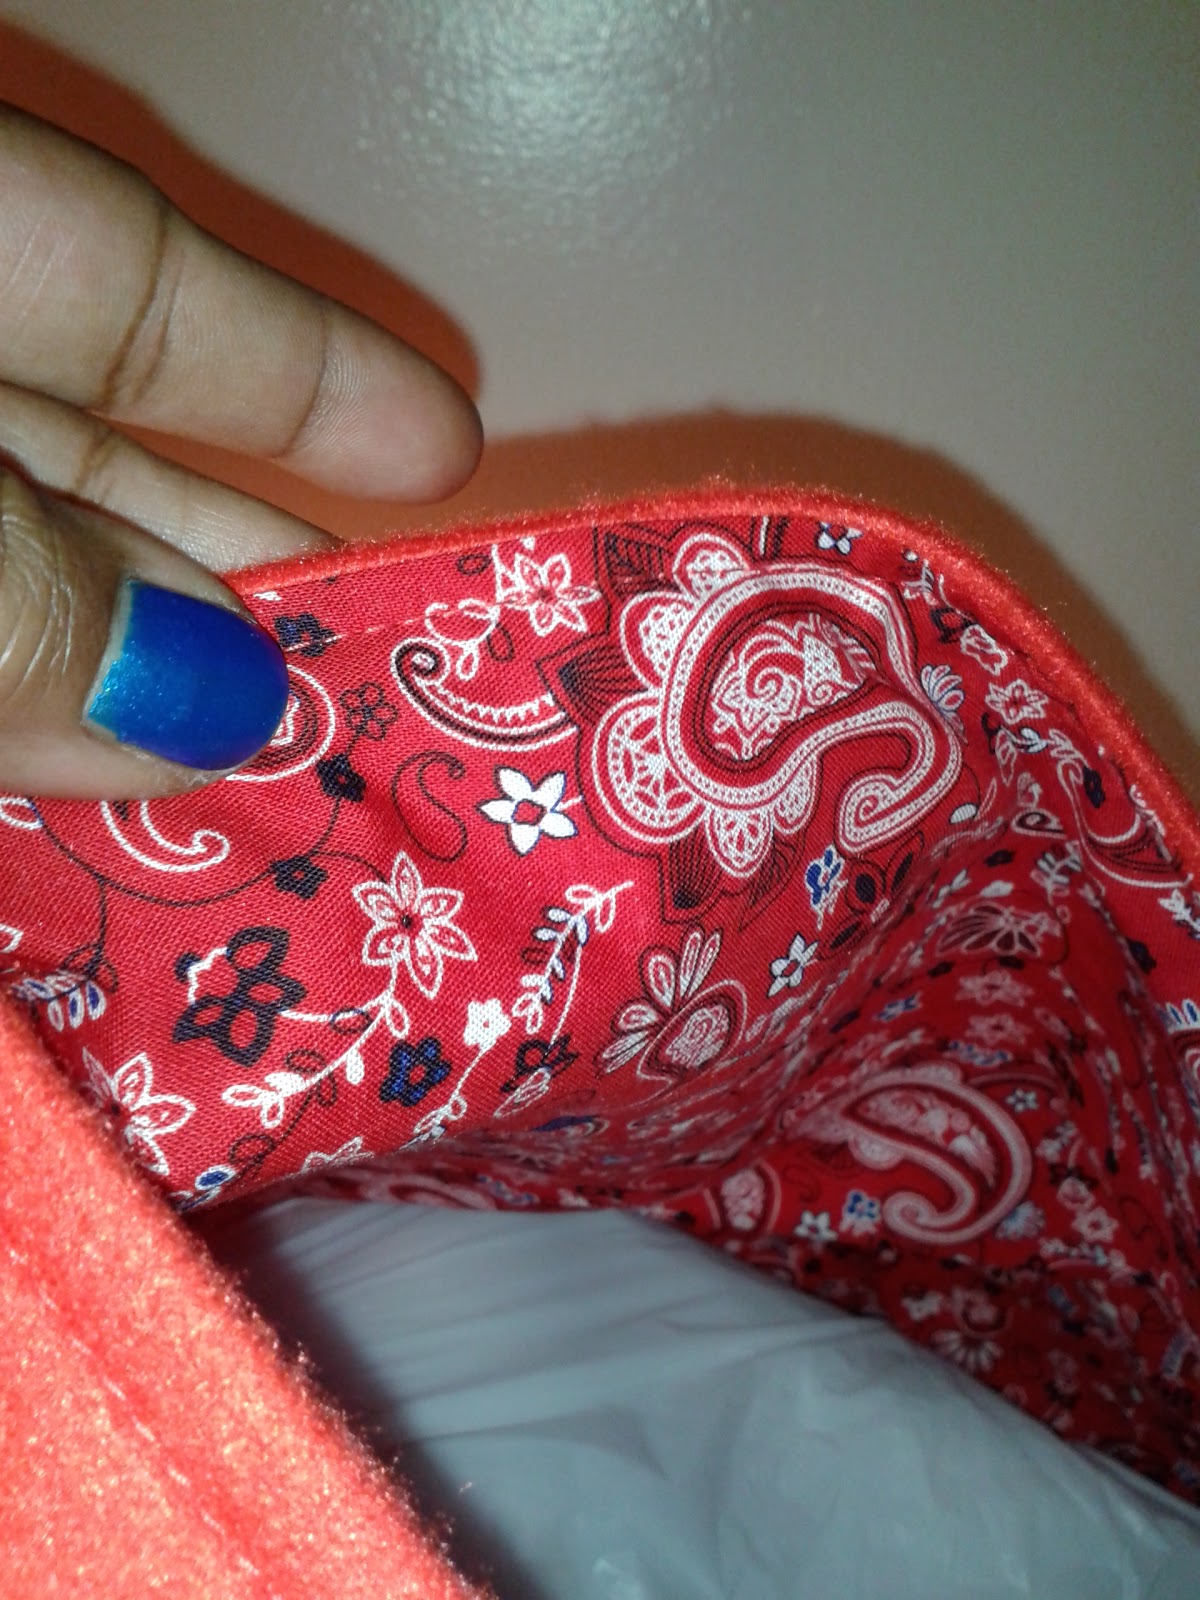
The pattern instructions directed me to attach the straps by stitching-in-the-ditch to attach the straps, I think I did a pretty good job don't you think? (shown above right photo) I was so proud of my straight lines that in the following photo I wanted to show you the attached lining that is top-stitched to the body of the bag.
At this point the bag was completed! I stuffed the bag with some plastic shopping bags to give it body to stand for photos and after taking the photos, I felt the bag was too plain on the outside. The pattern did not call for any pockets, so I decided it needed more love on the outside of the bag, maybe somewhere to put my phone or other odds and ends that usually get lost in the bottom of a large bag.


Since I have plenty of fabric left over from the red fleece and the paisley print cotton, I decided to use that to add some pockets onto the front of the bag. In retrospect, I wish I could have thought of it earlier in the project because it would have been easier to attach to the front and maybe add a zippered pocket on the inside. I will make a note of this when I use this pattern in the future.


Finally, I attached one big pocked to the front and stitched down the center of the pocket to create two pockets. I also lined the pockets with the same paisley print material. This project was fairly easy and did not take long for me to complete, if I had to sum up the layout, sewing, and overall construction time, I would estimate this project to be at the least 1 and 1/2 hours to complete. I would make this pattern again but will considering the changes I mentioned earlier.
I hope you enjoyed reading. Feel free to contact me if you have any questions or comments.
Happy Sewing!
No comments:
Post a Comment